Location:Home > Products > Conventional series
MFT-4000 Multi-function Material Surface Property Tester uses friction detection technology, acoustic emission detection technology, displacement measurement technology and microcomputer automatic control technology to evaluate multiple mechanical properties of material surface via one instrument, which can be applied to manufacturing, machinery, electronics, biology and bionics.
Principle of operations:
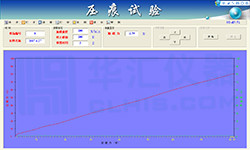
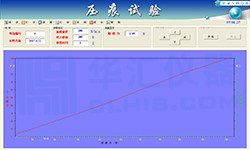
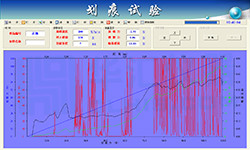
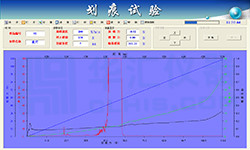
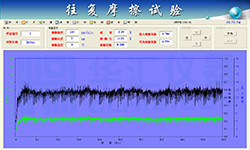
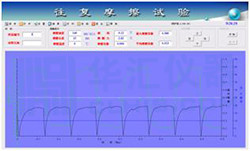
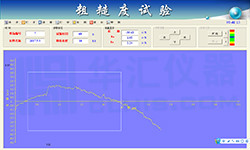
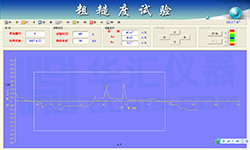
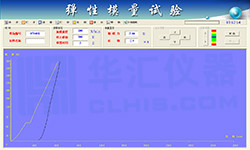
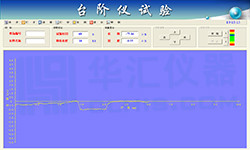
The testing of a variety of mechanical properties of the material is achieved by assembling different components. Different tests such as the indentation test, scratch test, reciprocating friction test, elastic modulus test and roughness measurement can be carried out in this machine.



Instrument weight:42.5kg
Appearance size:400×250×360(mm×mm×mm)
Power:1kw
Operating Voltage:220V
1. Loading mode: automatic load
2. Loading range: 0 N~ 300 N, the accuracy(precision) is 0.25%F.S
3. Loading rate: 1~100 N/min
4. Measuring range: 0.5~100μm
5. Sample size: 10~35mm,The thickness is 2~15mm
6. Indenter: diamond with 90° cone angle and 0.1mm tip radius (other specifications can also be used)
7. Data processing: the Access, Excel database file, Word experiment report and Jpeg picture can be generated
1. Loading mode: automatic load
2. Loading range: 0 ~ 300 N automatic loading continuously, the accuracy(precision) is 0.25%F.S
3. Scratch length: 3~ 35 mm
4. Loading rate: 1 ~100 N/min
5. Measuring range: 0.5~30μm
6. Sample size: 10~35mm,The thickness is 2~15mm
7. Friction measuring range: 0~ 100 N, accuracy(precision) 0.25%F.S
8. Indenter: diamond with 120 ° cone angle and 0.2 mm the tip radius
9. Data processing: the Access, Excel database file, Word experiment report and Jpeg picture can be generated
1. Loading mode: automatic load
2. Load range: 0 ~ 300 N , the accuracy(precision) is 0.25%F.S
3. Loading rate: 1~ 100 N/min
4. Up-down height: 20 mm
5. Moving distance: 5 ~ 35 mm
6. Sample size: 10~35mm,The thickness is 2~15mm
7. Reciprocating speed: 50~ 240 mm/min, the accuracy(precision) is ± 0.1mm/min
8. Contact form: point surface
9.Mating materials diameter: Φ3 mm, Φ4 mm, Φ5 mm, Φ6 mm
10. Friction pair materials: GCr15 steel ball, AlO ceramic ball, ZrO ceramic ball, SiN ceramic ball
11. Data processing: the Access, Excel database file, Word experiment report and Jpeg picture can be generated
1. Moving range: 2~10mm
2. Measuring range: 1~ 200 μm
3. Precision: 0.1 μm
4. Sample size: 10~35mm,The thickness is 2~15mm
5. Indenter: diamond with 90° cone angle and 0.1mm tip radius
6. Roughness: Ra, Rz
7. Data processing: the Access, Excel database file, Word experiment report and Jpeg picture can be generated
1. Loading mode: automatically load
2. Load: 0 ~ 300 N , the accuracy(precision) is 0.25%F.S
3. Loading rate: 1 ~ 100 N/min
4. Sample size: 10~35mm,The thickness is 2~15mm
5. Measuring range: >5 μm
6. Precision:0.1μm
7. Indenter: diamond with cube corner pressure needle (triangular pyramid)
8. Data processing: the Access, Excel database file, Word experiment report and Jpeg picture can be generated
1. Moving range: 2~10mm
2. Measuring range: 1~ 200 μm
3. Sample size: 10~35mm,The thickness is 2~15mm
4. Precision: 0.1 μm
5. Indenter: diamond with 90° cone angle and 0.1mm tip radius
6. Data processing: the Access, Excel database file, Word experiment report and Jpeg picture can be generated
1. Moving range:2~10mm
2. Measuring range: 1 ~ 200 μm
3. Sample size: 10~35mm,The thickness is 2~15mm
4. Accuracy: 0.1μm
5. Indenter: diamond with 90° cone angle and 0.1mm tip radius
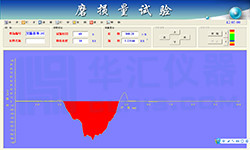
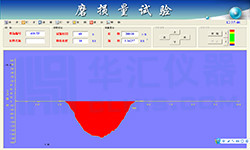
6. Wear rate: cross-sectional area of wear scar mm2 (wear volume / N • min)
7. Data processing: the Access, Excel database file, Word experiment report and Jpeg picture can be generated
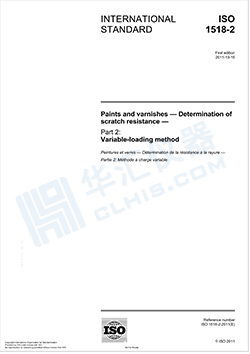
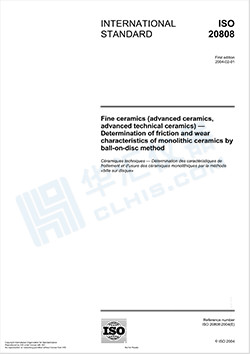
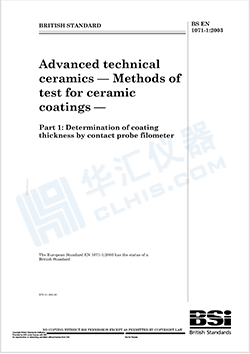
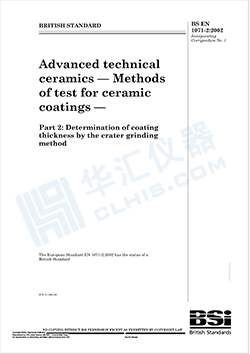
The instrument complies with ASTM,BS-EN, DIN, GB and JB standards
